

All those who know me or read my blog will know how much I love to bake. There is no better mood-booster than beating up a dough and baking it till perfection. So when my husband got a $50 gift coupon from Sears beginning of this year, I knew instantly how to put it to good use. Thereby came home an electric mixer and a food processor. And thus my effortless entry into the world of baking.
More than savoring the home-baked goodies, I like the process of preparing it; taking out my measuring cups, scooping out the flour, kneading the dough with my hands, sprinkling flour, the wonderful aroma – everything is like a therapy for me.

Last winter was terrible. With 3-4 inches of snow piled outside there was no way I wanted to go outside to buy those blue boxes of Danish butter cookies; so when the craving set in, out came my bakers hat and I inaugurated my hand mixer with this butter cookie recipe from here while BBC helped me in clicking some of the pics. Since that winter morning I never got around to upload this post and was looking for a special occasion to do so.
Now as I participate in the Bake Fest Event #21 hosted by AmritaVishal of Sweet ‘n’ Savory , I think it is a good time to share this entry of Home Baked Butter Cookies with you all. And trust me, if you have a hand mixer you can do this in a jiffy!

Ingredients:
- Butter, unsalted and softened – 1 cup or 8 oz
- Granulated sugar – 3/4 cup
- Salt – 1/4 tsp
- Vanilla extract – 1 1/2 tsp
- Egg yolk – 1 large
- All-purpose flour – 2 cups
Method:
- In a big bowl add the softened butter, sugar, salt and vanilla and beat them together until smooth and creamy.

- Add the egg yolk and beat in till everything is well incorporated, scraping down the sides of the bowl.

- Add the flour and beat just until incorporated.

- Sprinkle some flour onto a work surface and transfer the dough.
- Knead it lightly just till the dough smooths out.
- Divide the dough in half and shape each half into a log (round or square) that is about 1 1/2 inches in diameter.
- Using the flat surface of the knife smooth out the sides so that you have sharp edges.

- Wrap each log in a plastic wrap and place in the refrigerator until firm (at least two hours or preferably overnight). Can also freeze the unbaked logs for up to two months.

-
Before baking, preheat the oven to 325°F. and line the baking sheets with a parchment paper.
-
Once the log is firm, with a sharp knife, slice the dough about 1/8 – 1/4 inch thick or as you want.
-
Place the slices on the lined baking sheet about 1 inch apart.

- Sprinkle some finely chopped nuts like walnuts or almonds if you want to and press them onto the surface of the unbaked cookie.
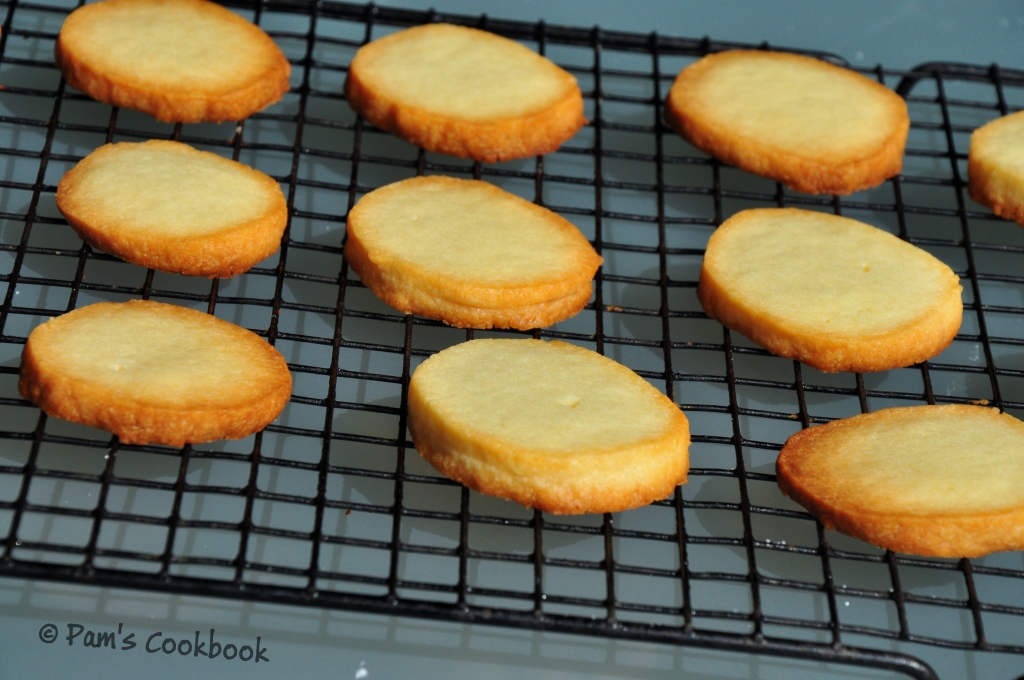
- Bake them for 12 – 15 mins or just until done.
- Once done remove from oven and place on a wire rack to cool.
Note:
- While shaping them into logs ensure that the dough is tightly packed or else you might get holes in the center. Some of my cookies got that, but not much so it was okay.
- Baking time may vary from oven to oven. Remember that the cookies keep baking even after taking them out of the oven. So do not over bake and allow them to cool on a cooling rack completely; if they are still soft, you can put them back in the oven for a couple of minutes again.
- You can roll out the dough and cut them in various shapes using a cookie cutter.
- You can decorate it using colored sugar or dip them half into chocolate.


